10 Captivating Spring Science Classroom Door Ideas Kids Love
Spring is the perfect time to refresh your classroom with bright colors, nature themes, and engaging science learning displays. If you’re looking for creative ways to decorate your classroom this season, these spring science classroom door ideas are a fun and educational way to welcome students every day. In this collection of 10 captivating spring science classroom door ideas kids love, you’ll find designs that combine seasonal beauty with important STEM concepts like plant growth, pollination, life cycles, environmental science, and chemistry. From blooming flowers filled with science icons to colorful experiments and butterfly transformations, each door turns your classroom entrance into an interactive learning moment. These ideas are perfect for elementary classrooms and help spark curiosity, creativity, and excitement about science all spring long. 🌸🔬🐝🌱


🌸Materials needed to design spring classroom doors
✂️ Basic Craft Supplies
- ✏️ Pencils for sketching designs
- ✂️ Scissors
- 🧴 Glue sticks or craft glue
- 📎 Clear tape or double-sided tape
- 📌 Stapler and staples
- 🖊️ Markers or colored pens
- 📄 Colored construction paper or cardstock
🏫 Classroom Decoration Materials🏫 Classroom Decoration Materials
- 🧻 Bulletin board paper or large poster paper
- 🖨️ Printable science icons or templates
- 🔤 Letter cutouts or printable alphabet letters
- 📦 Foam board or cardboard for sturdy shapes
- 📍 Sticky tack or removable mounting putty
🌼 Spring-Themed Decorations
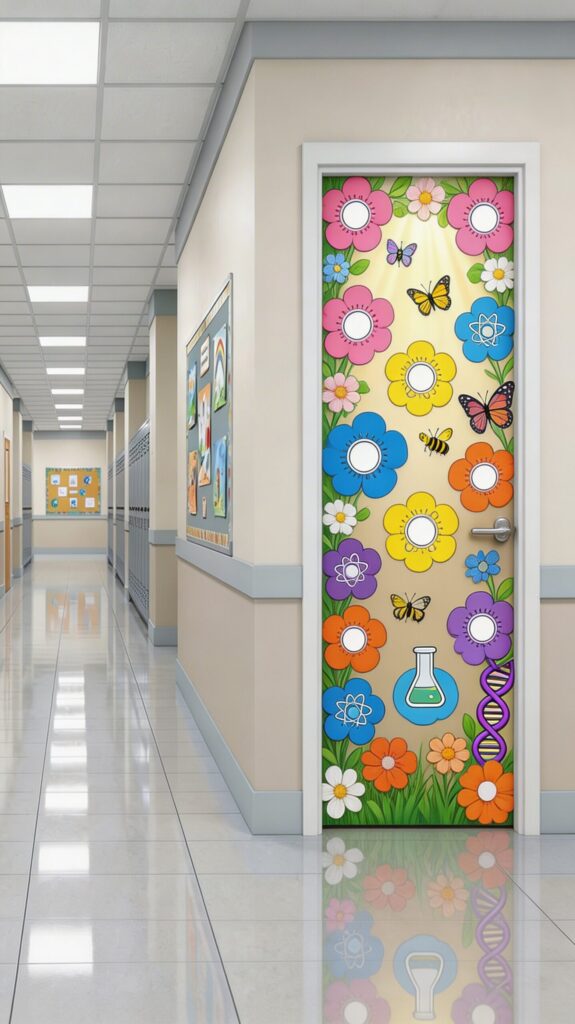
- 🌸 Artificial flowers or paper flowers
- 🦋 Butterfly cutouts
- 🐝 Bee decorations
- 🌿 Leaf and grass decorations
- ✨ Spring-themed stickers
🔬 Science-Themed Elements
- ⚛️ Printable science icons (atoms, microscopes, DNA, flasks)
- 🧬 Molecule diagrams or science symbols
- 🌱 Plant diagrams or growth illustrations
- 🔄 Life cycle diagrams (frog, butterfly, plants)
- 🏷️ Labels for concepts like photosynthesis, pollination, and recycling
🎨 Optional Creative Add-Ons
- 🧾 Laminator and laminating sheets for durability
- ✨ Glitter or glow markers for highlights
- 💡 LED fairy lights for interactive displays
- 📷 Student photos or name tags
🧷 Mounting Materials
- 🪝 Command hooks or removable adhesive strips
- 🎗️ Masking tape or painter’s tape (safe for doors)
- 🧲 Magnetic clips (for metal doors)
💡 Teacher Tip:
Using laminated pieces or reusable cutouts allows you to reuse your spring door decorations year after year.
⏱️ A Step-by-Step Guide
How to Create a Spring Science Classroom Door in 30 Minutes
Decorating your classroom door for spring doesn’t have to take hours. With a few simple supplies and a clear plan, you can create a colorful and educational spring science classroom door in about 30 minutes.
🧾 Step 1: Choose a Spring Science Theme
Start by deciding what science concept you want to highlight. A theme helps organize your design and makes the door educational.
Some popular spring science themes include:
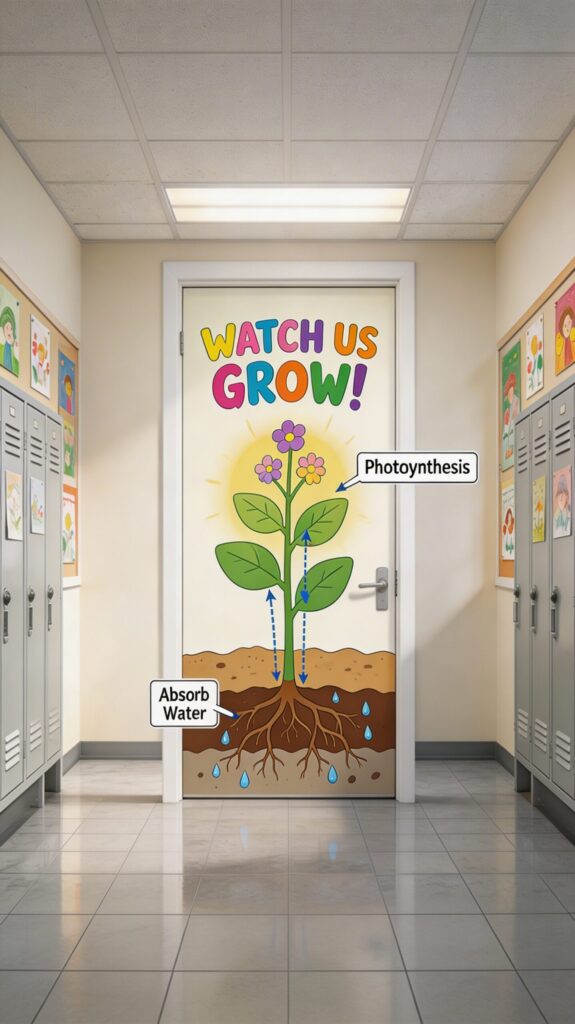
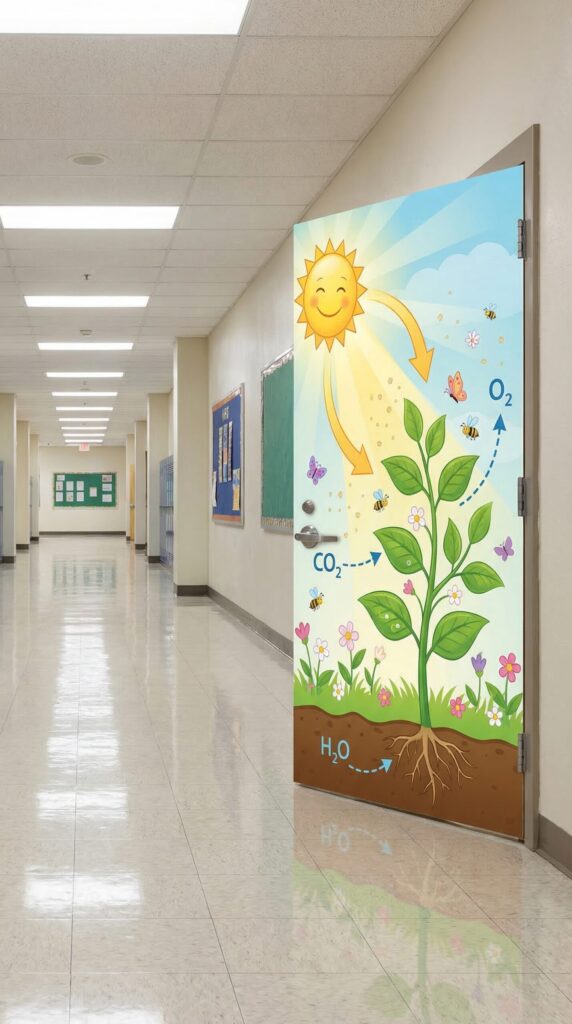
- 🌱 Plant growth and photosynthesis
- 🦋 Butterfly metamorphosis
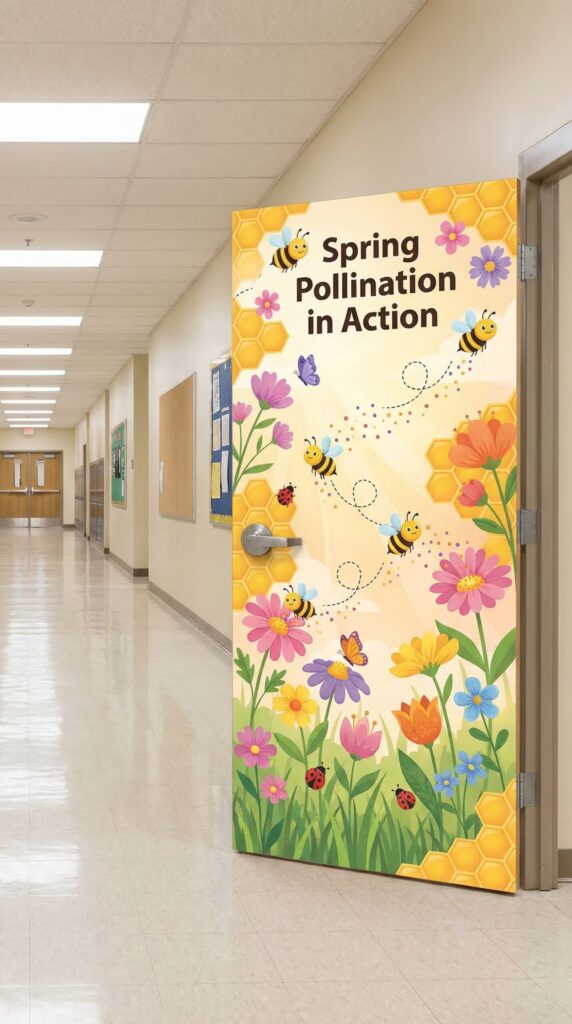
- 🐝 Pollination and bees
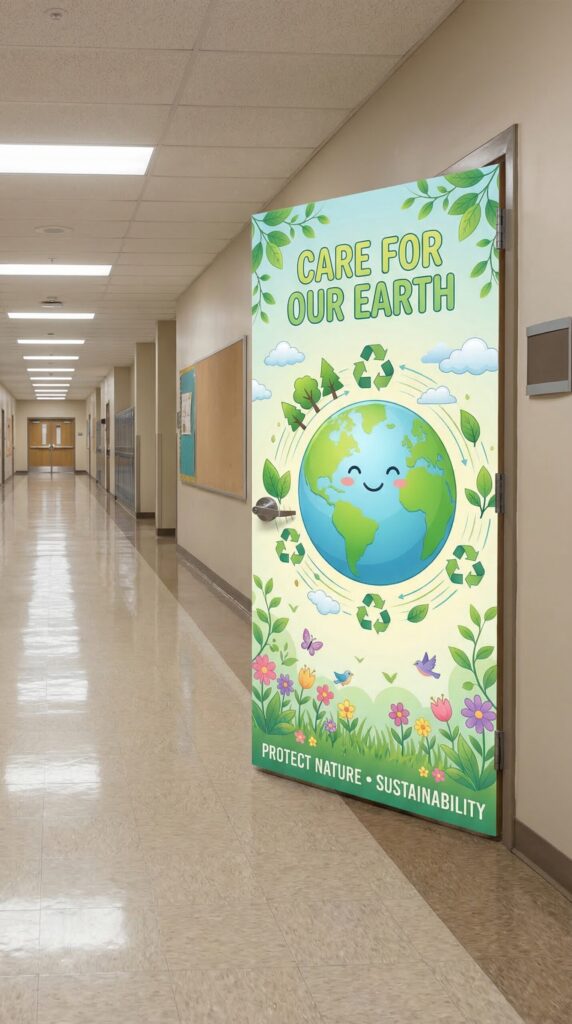
- 🌍 Environmental science and Earth care
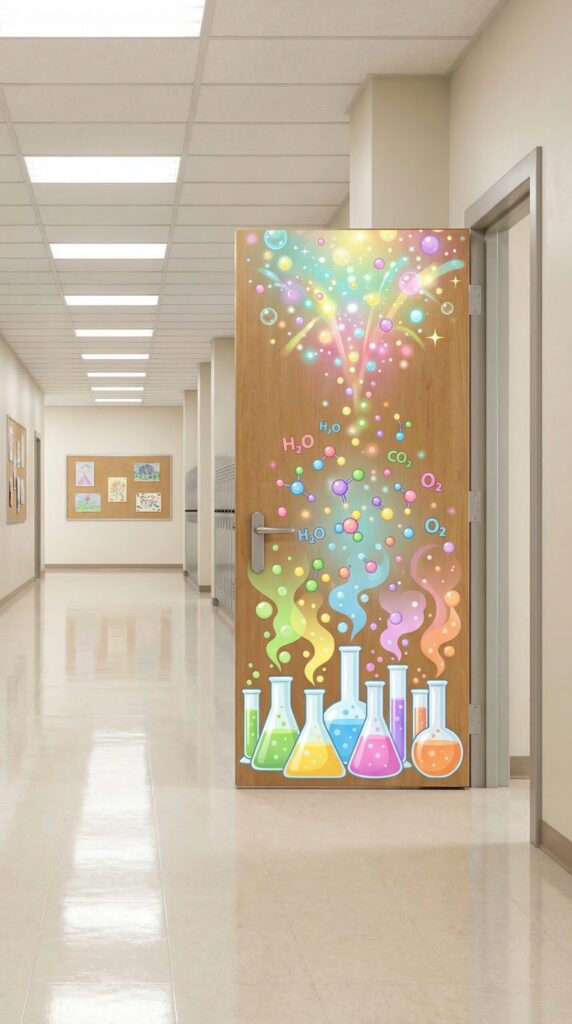
- 🧪 Chemistry experiments
- 🐸 Frog life cycle
Choose one theme that fits your current classroom science lesson.
📄 Step 2: Print or Prepare Your Decorations
Next, gather your decorative elements.
You can use:
- printable science icons
- flower cutouts
- butterfly or bee decorations
- science labels and diagrams
Many teachers print these pieces on cardstock for durability.
✂️ Step 3: Cut and Assemble Your Design Pieces
Cut out the decorations and prepare the main visual pieces for your door.
For example:
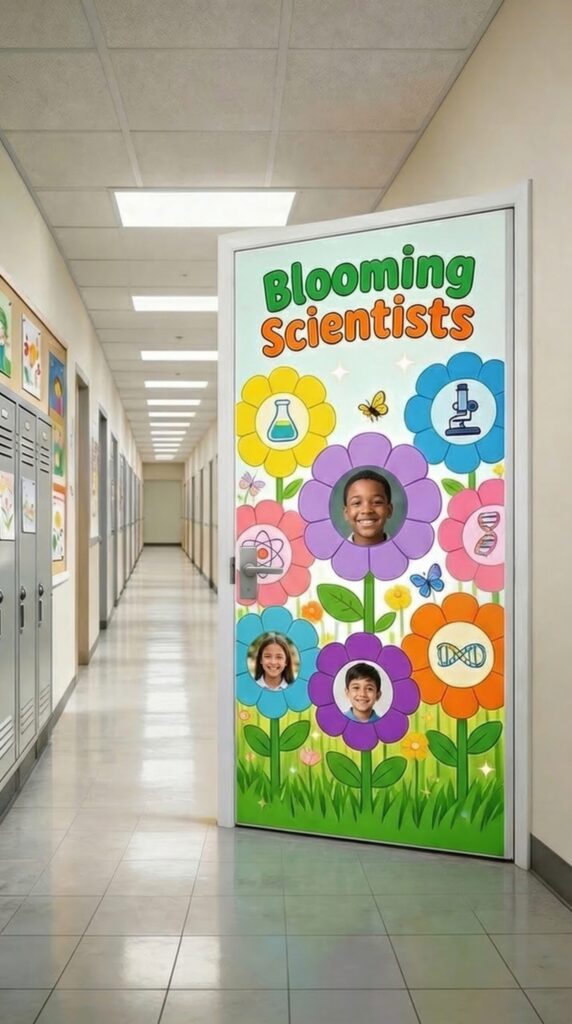
- cut out flowers for student names
- assemble life cycle diagrams
- prepare science symbols like atoms, microscopes, or DNA
Arrange them on a desk first to see how they will look before attaching them to the door.
🚪 Step 4: Arrange the Layout on the Door
Place the larger elements first.
A simple layout strategy works best:
- Top of the door: title or theme text
- Middle of the door: main science illustration
- Bottom of the door: grass, roots, or experiment visuals
This creates a clear and balanced design.
🏷️ Step 5: Add Student Interaction
To make your door more engaging, add interactive elements such as:
- 🌸 flowers with student names
- 📸 student photos
- 🧠 science fact labels
- 🔬 small science icons students can identify
This helps students feel connected to the display.
✨ Step 6: Add Final Details
Finish the design by adding small decorative touches like:
- butterflies
- sparkles
- bees
- arrows showing science processes
- colorful borders
These details make the door feel lively and complete.
🎉 Step 7: Step Back and Enjoy Your Spring Science Door
Once everything is attached, step back and admire your work! Your classroom entrance is now a bright spring science display that welcomes students while reinforcing science concepts.
💡 Teacher Tip:
Laminating your decorations allows you to reuse the door design every spring.


